

Hole by hole

The First (Beeches)
A straight Par 3 to start with water to the right and left, a sloping green with for the too long a hitter a tricky bunker at the rear.
White 200 yds | Yellow 189 yds | Red 181 yds

2nd Hole (Round The Corner)
Par 4 Dog leg right.
A straight drive is essential, narrow opening at 11th teeing area, a large copse, penalty area, awaits wayward drives to the right and a line of conifers protect the 3rd fairway to the left, a slight dog leg right to a raised green protected by sand traps both left and right of the front of this sloping green and a drop off the green at the rear.
White 415yds | Yellow 400yds | Red 390yds
3rd Hole (Back O' Wood)
A straight Par 4,
Excellent opportunity for birdies on this par 4, newly installed elevated green protected by 3 sand traps, 2 right and 1 left, dont be bold, a ditch awaits at the rear of this hole, 3 fairway bunkers, 2 right and 1 left.
White 305yds | Yellow 295yds | Red 288yds

4th Hole (The Spinney)
A straight Par 4 that has an intimidating tee shot, over pond, narrow gap not for the faint hearted. A small group of trees protect the right side of the fairway along with fairway bunker, 2 further bunkers at the front of the green and 1 at the rear of this receptive green.
White 396 yds | Yellow 386 yds | Red 272 yds

5th Hole (Brooks Edge)
A good straight Drive is essential to enable you to produce a second shot to this island green, protected by ditch in front, stream to left & rear, ideal opportunity to get a birdie on this Par 4 hole or wreck your card with any wayward shots, 1 fairway bunker and 1 at the rear of this green which is surrounded by either penalty areas or O.O.B.
White 263 yds | Yellow 258 yds | Reds 255 yds
6th Hole (Bridge End)
A long par 4 which will take 2 long accurate shots to reach, penalty areas and O.O.B. await you up the right hand side with a fairway that slopes to the right, this long green will test you as it slopes also to the right, only 1 bunker protects this green, but if you land in it you will find your ball will be falling away from you as it lands on this sloping green.
White 430 yds | Yellow 416 yds | Red 377 yds

7th Hole (Top O' Bank)
A testing little Par 3, on 2 levels, 4 bunkers protect this green 1 front left, 2 right & 1 which will catch any long shots. Still a chance of a birdie or two.
White 162 yds | Yellow 151 yds | Red 145 yds

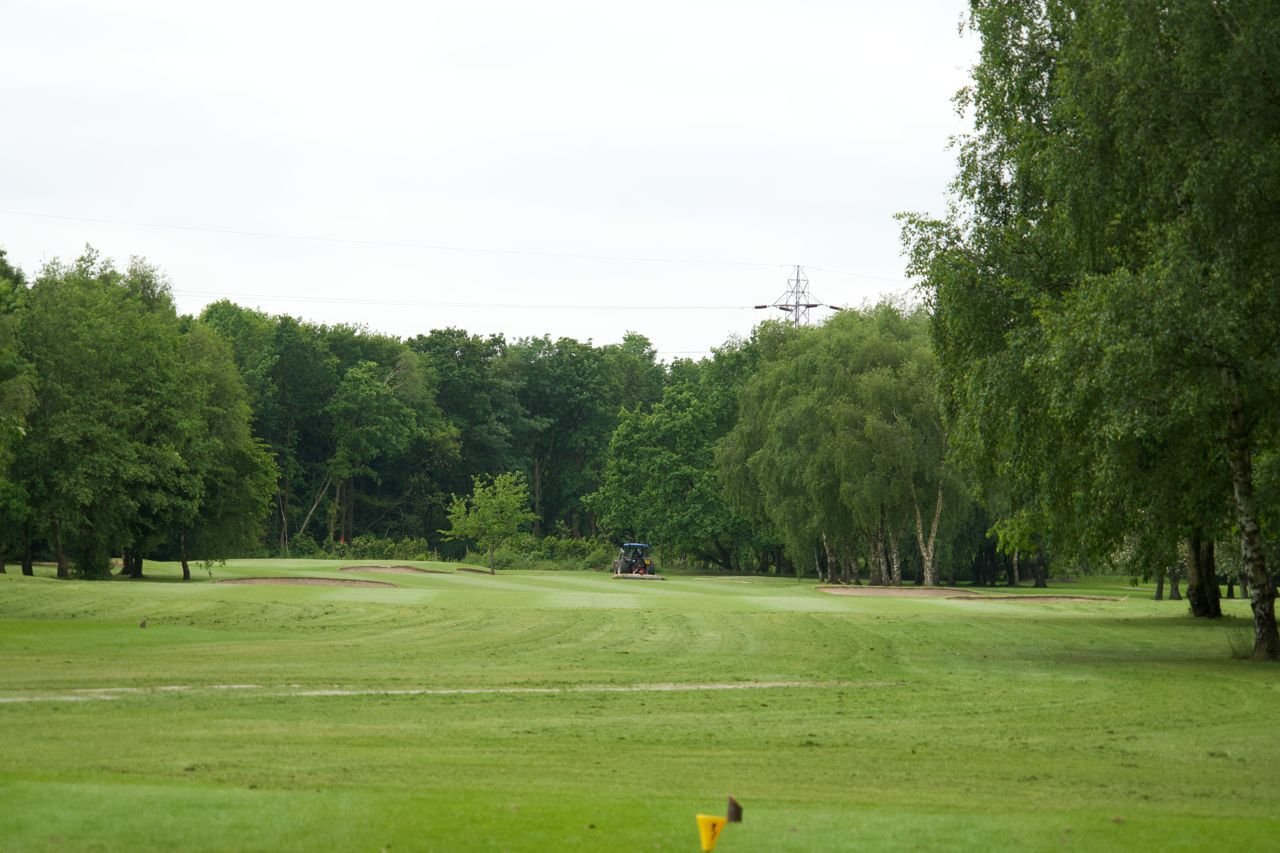
8th Hole (Pond Hole)
Slight dog leg right this par 4 requires a good straight drive if you are to go for this receptive green in two, 2 fairway bunkers at approx 150 yds out followed by a welcoming pond, most players lay-up & on for three but if you need a birdie the go for it, 2 bunkers 1 left and 1 at rear to the right.
Photo is the approach shot to 8/17th Green.

9th Hole (Long Walk Home)
This Straight long Par 5 requires a straight drive, fairway bunkers lay in wait at approx 230 yds out, which is further protected by two more bunkers left and right, front of the green.
White 518 yds | Yellow 506 yds | Red 470 yds

10th Hole (Bunker Hell)
The men’s tee starting the back nine is an intimidating Tee shot, a deep breath & smooth swing will get you there, accuracy and distance control are desirable to this well protected Par 3 two large pot bunkers guard the entrance, another guards the right side, Penalty area. to the left and if long then the pond at the rear will catch you.
White 169 yds | Yellow 159 yds | Red 150 yds

11th Hole (Keepers Corner)
Forward Tee from 2nd
Par 4 Dog leg right.
A straight drive is essential, a large copse, penalty area, awaits wayward drives to the right and a line of conifers protect the 3rd fairway to the left, a slight dog leg right to a raised green protected by sand traps both left and right of the front of this sloping green and a drop off the green at the rear
White 347yds | Yellow 335yds | Red 330yds

12th Hole (To the Woods)
Teeing Area to the left of the 3rd tee.
The difference in moving the tee over 20 yds is immense, still it is an excellent opportunity for birdies on this par 4, the newly installed elevated green protected by 3 sand traps, 2 right and 1 left, don’t be bold, a ditch awaits at the rear of this hole, 3 fairway bunkers, 2 right and 1 left.
White 320yds | Yellow 310yds | Red 288yds

13th Hole (Out O' Woods)
Less intimidating than the 4th Teeing forward of the dreaded pond.
Small group of trees protect the right side of the fairway along with fairway bunker, 2 further bunkers at the front of the green and 1 at the rear of this receptive green.
White 327 yds | Yellow 315 yds | Red 310 yds

14th Hole (Fox's Lair)
5th hole 2nd time around
From this elevated Tee a good straight Drive is essential to enable you to produce a second shot to this island green. The right hand side of the fairway is a penalty and the green is protected by ditch in front, stream to left & rear, ideal opportunity to get a birdie on this Par 4 hole or wreck your card with any wayward shots, 1 fairway bunker and 1 at the rear of this green which is surrounded by either hazards or O.O.B.
White 283 yds | Yellow 278 yds | Red 255 yds
15th Hole (Brooks Corner)
6th hole 2nd time around
From this back Tee trouble awaits both left and right, a long par 5 which will take 2 long accurate shots to reach, penalty areas and O.O.B. await you up the right hand side with a fairway that slopes to the right, this long green will test you as it slopes also to the right, only 1 bunker protects this green, but if you land in it you will find your ball will be falling away from you as it lands on this sloping green.
White 535 yds | Yellow 521 yds | Red 410 yds

16th Hole (On the Bank)
With the Teeing Area moved 40 yds to the right of the 7th tee, this is still a testing little Par 3, on 2 levels, 4 bunkers protect this green 1 front left, 2 right & 1 which will catch any long shots. Still a chance of a birdie or two.
White 162 yds | Yellow 151 yds | Red 137 yds

17th Hole (No Man’s Land)
8th hole 2nd time around
Slight dog leg right this par 4 requires a good straight drive if you are to go for this receptive green in two, 2 fairway bunkers at approx 150 yds out followed by a welcoming pond, most players lay up & on for three but if you need a birdie then go for it, 2 bunkers 1 left and 1 at rear to the right.
White 370 yds | Yellow 358 yds | Red 315 yds

18th Hole (Longest Walk Home)
This Last is an even longer Par 5, Tee (30 yards further back), that requires a straight drive, fairway bunkers lay in wait at approx 260 yds out. Two more bunkers left and right, front of the green.
White 550 yds | Yellow 540 yds | Red 470 yds